Thursday, September 24, 2015

Stranded Knitting: Post 17 - Blocking

Blocking
In case you haven’t gotten the message, you can pretty much do whatever you want with your own knitting. “Right” is only right for you. The knitting police have no jurisdiction in your knitting bag.

To the subject at hand, you certainly do not have to block your finished garment. I know several knitters who finish a sweater and just put it…and never look back.

I could give you all sorts of yarn-y, fiber-y reasons for blocking, but the bottom line is just this…. your knitting will look SO much better if you block it.

The objective to blocking is to layout…and most times stretch…your knitting to the shape and even size you want. You do not have to do this alone. There are tools to help you and we will talk about them first.

Blocking board
There are all sorts of gridded boards or tiled mats for laying out your knitting. I have recently purchased a set of linking mats for larger projects, but all you really need is a flat surface which is a bit larger than the piece you are blocking. It needs to be placed in an area where it can remain undisturbed for a day or so. Oh, and you will have to be able to stick pins into this surface. I use a towel on a guest room bed or my new mats on the guest room floor.

Blocking wires
These are usually used for stretching out lace projects or for straightening out sweater parts. The idea is to run the wires through the edges and then pin the wires at strategic places to achieve the desired shape or size. Pinning only the wires gives uniform tension on the edges and saves you from pinning every point.

Quick digression…lace shawls are sometimes blocked by running cotton string through the points or edges and then pinning the string. Works on the same principle as the wires...less pins used.

The downside: some knitters would rather just pin than take the time to run wires or even string through the edges.

Precut or fixed blockers…
I’m sure you have all seen sock blockers. Those precut sock shaped pieces that help block sock…hence the name. :)

There are also mitten and glove blockers. I don’t see these as much, but they are out there. FYI, I have been known to make mitten and mitt blockers with corrugated cardboard cut to size and covered in plastic wrap. They don’t last too long, but I can always make more.

I am sure there are some blockers out there for hats…somewhere. I have seen the ones the haberdasheries use for felted fedoras and such, but they aren’t really necessary for blocking knitted hats.

For round hats, a head form is useful, but some knitters use a head sized bowl or even blow up a balloon to the size of the head in question. I have also stuffed a round hat with plastic grocery store bags. It takes a bit longer because the plastic tend to block the moisture from evaporating, but it works.

Tams traditionally are blocked on a dinner plate, but you probably knew that.

Speaking of tradition, on my first trip to Shetland, we visited a typical croft (small farm) house museum. Hanging on the walls were precut wooden sweater blocker for a small child. Outside leaning against a wonderful stone wall were several examples of sweaters on wooly boards…which we will talk about next. 

Wooly board…
A wooly board is an adjustable frame for blocking…and sometimes, stretching…drop shoulder sweaters.

Wilkins on the wooly board. Watering can optional.
Just in case you are asking….a drop shoulder sweater is one where the sleeves stand directly out from the body...as opposed to a raglan or set in construction where the sleeves hang at an angle to the body. Traditionally, Fair Isle and Scandinavian sweaters are made with some version of a drop shoulder technique...a tradition that has been explored and “tweaked”, if you will, recently. These “tweeks” are maybe best left for the discussion of designing stranded sweaters that I talked about earlier.

Back to wooly boards…which is not actually a “board” at all. They are generally made from several cut pieces of wood, although I have seen a wonderful example of one made from PVC pipe.

As a rule, they have some sort of feature so they can stand on their own. This allows air to get all around the garment you are blocking. That being said, in Shetland, you will see the wooly board complete with sweater leaning against a wall or the side of a house.

Ok, we have talked about the tools, let’s talk about the methods.

There are three different ways to block knitting….spraying, streaming, and wet immersion.

Spraying is the easiest on the fabric and can be used on delicate fibers like cashmere and silk. It is also the safest way to block when you are not sure of the fiber content of that unmarked ball of fabulous color you just had to use.

You lay your garment out on a flat surface (blocking board, tiles, and/or towel), pin it into shape if you need to, and spray lightly with a bottle filled with room temperature water. You want to damp, but not soak. Smooth the stitches with your hands and ease it into the shape you want and walk away to let it dry.

Stream blocking is best for fabrics that shouldn’t get too wet. Be careful, though, with any fibers that don’t do well with heat.

You lay out your garment about the same as spraying…remembering that surface underneath your garment will need to be heat resistant.

Quick cautionary tale: In high school, the French Club was over at the French teacher’s house preparing the decorations the first annual French Club dance. Because funds were short, we very cleverly got old sheets and dyed them lovely pastel colors. The dyed sheets were then cut into 1 ½ inch strips. These strips then needed to be ironed, so they could be used as streamers in the gym. Without an ironing board, a couple of us decided (ok, I decided) to press them on the carpet in the middle of the teacher’s living room. Brilliant, right? We thought so…until we realized that the carpet contained synthetic fibers which didn’t do well when heat was applied. Like it melted….a lovely 1 ½ inch strip of melted carpet. Lesson learned, folks. Lesson learned.

Back to steam blocking…once you have your garment laid out…and pinned, if needed/desired…put your iron on steam and hold it very close to the garment and puff blasts of steam into your work.

You can also place a damp cloth or wash cloth on your knitting and press the iron briefly on the cloth and puff with steam. “Press” only….do not run the iron back and forth as if you are pressing a shirt. You do not want to distort the knitting.

Again get the garment damp…but not soaked. Walk away to let it dry.

Wet Emersion
This works well for most wool garments...and well, just about any fiber that can stand being wet. Novelty fibers that may fall apart in water probably should not be blocked this way…for obvious reasons.

Fill a container…bathtub, sink, plastic tub, etc….with cool to room temperature water. You do not want to use hot or even warm water here …especially if you are working with wool…to prevent the possibility of felting.

You can add some shampoo or wool wash to the water, if you think it is necessary. Submerge your piece in the water.

Wilkins in the bath.


Some people rest the garment on the water surface and wait for it to absorb enough water to submerge itself. This is very gentle and takes patience.

Others just push the garment into the water, making sure it gets completely wet.

“Jouge” (i.e. agitate it gently with your fingers) it around a bit and walk away. (Sensing a “walk away” theme here.)

After about 20 minutes or so, come back and if you need to rinse out any cleaning liquids, do so.

Pull the garment out of the water, gently squeezing, but not wringing, out the water.
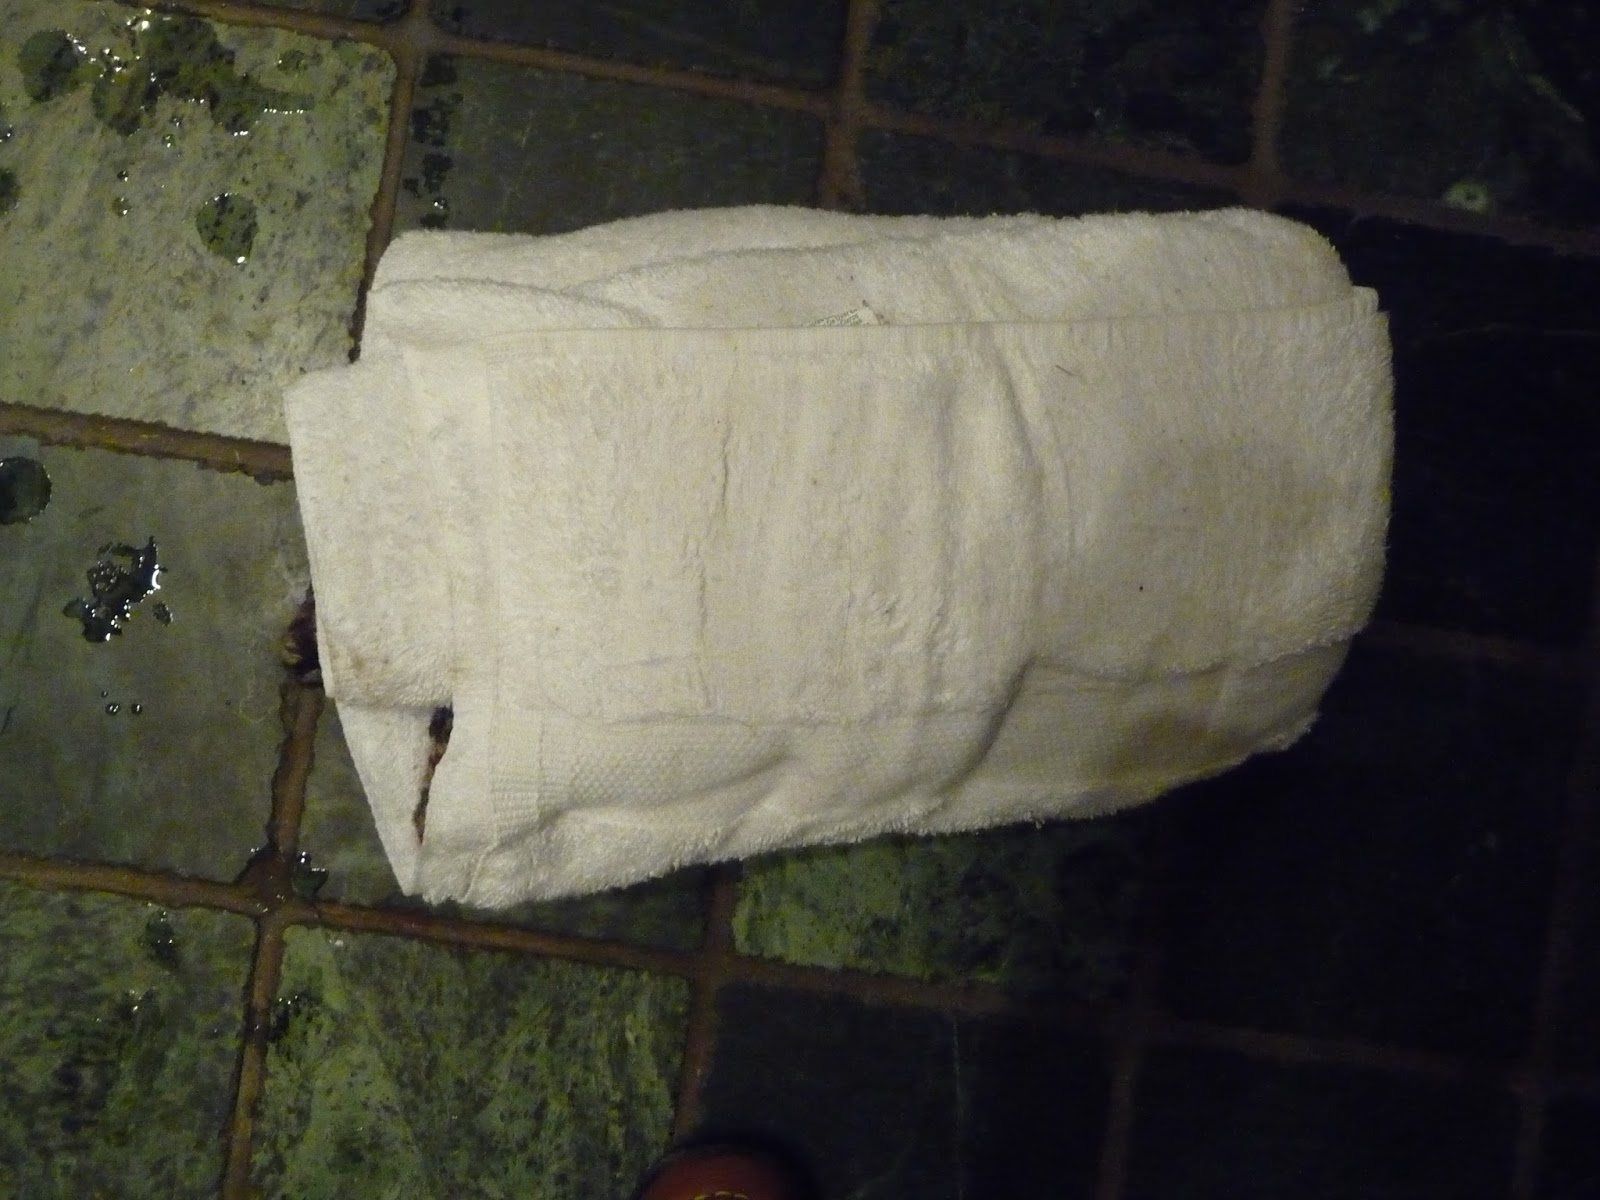
Wilkins laid out.
Lay the garment out flat on a clean towel (white is preferred, just in case there is any dye bleeding in either direction, but old towel that has been washed a million times will work as well). Fold over any excess toweling along the sides and then roll the whole thing up like a sushi roll.


Fold the roll in half and place it on the floor….and stand on the folded roll. The idea is to walk on it to squeeze out all of the excess water.


Now unwrap and gently lay it out flat or put it on a wooly board.

The astute among you may have deduced a possible problem with putting sweater on a wooly board. Stretching a sweater over the various components of the wooly board not only stretch out the body of the sweater, it stretches out the bottom and sleeve ribbing as well. Those clever Shetlanders have a solution for this as well. After the sweater as completely dried, wet the ribbing…and just the ribbing…and give the stitches a tug or two vertically…making the ribbing longer, as opposed to wider. Let this dry and you are done.


Ok, there you have it…everything I could think of about knitting stranded. If you think of anything else or have any questions or gentle comments, please feel free to get in touch. 

FYI....I'm trying to figure out what to write about next. Any suggestions?


Brandon Knitting Designs - website
Brandon Knitting Designs - Facebook
Ravelry - varianbrandon
Twitter - @vbknits
Pinterest - Varian Brandon
Instagram - varianbrandon

Monday, September 7, 2015

Stranded Knitting: Post 16 - Casting Off and Weaving in the Ends

Casting off
Confession time, again…I know there are all sorts of nifty cast offs out there…extra stretchy, extra fast, extra (substitute the latest thing here), but I just seem to come back to the regular old “knit 2, pass first stitch over the second stitch” cast off. I know, boring…but I haven’t had any trouble with this tried and true method. so why change. I have started giving the first and second stitch a gentle tug to enlarge them before the passing over bit...making the cast off not so tight, but generally, it is the same cast off I learned at age eight.

Now, I will say that I do cast off “in pattern” if I am casting off a rib. You know the drill… if the rib is a K2, P2 rib, I will K2, pass 1st K st over 2nd. Then P1, pass the remaining K st over the P. The P1 and pass the 1st P st over the 2nd….and so forth. This seems to knock some of the frill out of an “all knit” cast off for a rib.
 
Wilkins. Beginning of round where ends were woven in.
Weaving in the Ends
We talked about some of this in Post 10 - “Weaving yarns…to add new colors and finish old colors”, but I wanted to talk about weaving in the ends a bit more depth here…mostly because I said I would.

If you ask a group of non-stranded knitting folks why they are reluctant to try stranded knitting, you will get a variety of answers. Among them is the necessity of weaving in “all of those ends”! This statement is usually accompanied by a look of abhorrence.  Hey…I sometimes get this reaction from stranded knitting enthusiasts!

There are people out there that count how many ends they have to weave in …giving them numerical milestones to reach as they go and a label to their feeling of accomplishment when finished. "I had to weave in 468 ends!"

There are those who kind of enjoy the process of taking care of the ends. At the completion of the knitting, they settle in with a good movie or a book to listen to and work patiently securing those ends. "It's very Zen-like."

I have a friend who spreads out the “joy”. She works for a few inches on a stranded project and then stops and weaves in all of the ends not secured up to that point. That way when the project is finished the ends are all done with.

There are some among you who weave in the ends as you go…as we discussed in the previously mentioned post...for the express purpose of not having to weave them in at the end.

What do I do? For no other reason that being overly cautious, I both weave in the ends as I go AND weave them in during finishing. I know, overkill.

So if you would rather not weave as you knit….and are an exclusive weaver of ends at the finish …or a combination “weave as you knit” and “weave at the end” person, as I am, there are a few options for getting those ends secured.

Examples of weaving in ends for non-stranded knitting generally use cast on and/or cast off ends for demonstration. The knitter is instructed to thread a tapestry needle and on the reverse side, follow a few stitches…doing a kind of reverse side duplicate stitch with the end. This is supposed to maintain the overall stretchiness of the finished fabric.

I have also seen an instruction to make sure to work in diagonal lines when securing the end.

These techniques are designed to prevent the ends from coming unraveled during the normal wear of a stretchy fabric.

Good News! Stranded work is not that stretchy…so the fear of unraveling is a somewhat lessened.

What I do is…gently tug on the end to tighten up the stitches and to determine which direction the end is coming from. Then weave in the end…going under a few purl bumps and around a few floats…for about 2 inches, continuing in the direction the end was traveling.

With the project spread out flat, I go mostly in a straight line and I’m working very gently…and have never had any trouble. Be aware, though, that there are those who say never to go under a float for fear of disrupting your tension. If this is one of your worries…then stick with catching the purl bumps and leave the floats. No worries.

Wilkins. Beginning for round (body), wrong side showing woven ends.
Wilkins. Beginning of round (rib) showing woven ends.

Now, how do you direct the end on your chosen path? Here are a few suggestions…

Blunt tapestry needle with 4-6 inch tail. Thread it up and go. It’s a bit tedious, but works well.

Blunt tapestry needle with 1-3 inch tail. Without threading it, take the needle on the desired path, hold tight while you thread the needle, and then pull through. This is a bit fiddley, but helps when the tail is too short to thread the needle conventionally.

Crochet hook with 2-3 inch tail. Pull the end through 2 or 3 chosen locations along the path. FYI, I generally try to pull the end from the same direction…either the bottom or from the top of the purl bump (or float) that is used as the anchor spot. I find the direction consistency causes the end to spiral along its path of security…becoming a bit more…well…secure.

Ok, so there you go…a few ways to secure ends. As always…not a decree of what’s right or correct, just a few ideas for you perusal. If you have a method that works for you, by all means, stick with it. “Why fix what ain’t broke”?


Next week - last post in this series: Blocking.

I'm be asking what series people would like to see next. If you have enjoyed this one, let me know what you would be interested in as it pertains to stranded knitting.

Best!


Brandon Knitting Designs - website
Brandon Knitting Designs - Facebook
Ravelry - varianbrandon
Twitter - @vbknits
Pinterest - Varian Brandon
Instagram - varianbrandon

Wednesday, September 2, 2015

Stranded Knitting: Post 15 - Centering Motifs (Sleeves)

Wilkins cuff and sleeve

Centering Motifs (sleeves)
You know the instructions… “pick up x numbers of stitches around the armhole for the sleeve and work chart Y” or “cast on x number of stitches for the sleeve, work the rib, increase x number of stitches and work chart Y.”

If you are lucky, your designer has added “…work chart Y, beginning at stitch N”….which will center the main motif down the sleeve. If you are unlucky, you are expected to figure this out for yourself.

Here is a brief look at what I do…

Let’s say the main motif has a 16 st repeat. Here is a chart with two repeats of our fantasy motif.


For top down or rib up sleeves, you will need to mark the center stitch. Decide whether you want stitch 1(or 17, which is really the first stitch or stitch 1 of the second repeat) (the center of the ‘X’ of the OXO pattern) or stitch 9 (or 25, the second stitch 9) (the center of the ‘O’) to be your center stitch.  

Then count in groups of 16 (which in our case is the stitch repeat) from your center stitch back to the beginning of the round counting your chosen central stitch as stitch 1.

What you are trying to get to is the number of stitches that do not make it into a group of 16.

For a top down sleeve, say your pattern told you to pick up 206 stitches. Your stitches should lay out like this…central underarm stitch, 102 sts on one side, central shoulder st, 102 sts on the other side.

If you count back by 16’s from the central shoulder stitch to the central underarm stitch...and including the central shoulder stitch, you should get 6 groups (96 sts) with 7 stitches left over, not counting the central underarm stitch. 

The central underarm stitch should remain neutral and is usually worked in the background shade. It is on either side of this stitch that you make the decreases to shape the sleeve.

Now, if you choose stitch 9 as your central stitch, counting back from stitch 9 for 7 stitches (including stitch 9), you get stitch 3. You should begin your round with the central underarm stitch in the background shade as discussed, then stitch 3 and repeat the chart stitches as usual. Then the ‘O’ will be centered down the outside of your sleeve with stitch 9 as the central shoulder stitch.

If you choose stitch 1 (or 17) as your central stitch, counting back from stitch 17 (because it is easier than counting from stitch 1) for 7 stitches, you get stitch 11. After the underarm stitch, you should begin your round with stitch 11 and the ‘X’ will be centered down the outside of your sleeve.

For a rib up sleeve, say your pattern told you to cast on 62 stitches, work the rib, then increase to 68 stitches. Your stitches should lay out like this…central underside stitch, 33 sts on one side, central top st, 33 sts on the other side.

Similar to the top down version, the central underside stitch should remain neutral and worked in the background shade. It is on either side of this stitch that you make the increases to shape the sleeve.

Starting with the central top stitch and counting back to the beginning of the round as before...and also as before, the underside stitch remaining neutral.

After working as above, if you start with stitch 9 for a centered ‘O’, you will begin your round with the center underarm stitch, then stitch 8. If you start with stitch 16 for a centered "X", start with stitch 16.

An added bonus for checking yourself, the stitches on either side of the central underarm stitch and the central shoulder stitch should be mirror images.

I hope that was all clear. Sometimes it is not so clear for me. In those cases, I end up drawing something like this for the top down example...


(Just for the record, in my patterns, I try to either figure this out for you ...which  means i draw alot of these chicken scratch things...and tell you which stitch to start with…or I explain how to do figure it out for yourself.)


As I am sure you have realized, there are plenty of opportunities to use your centering super powers when working on different types of garments. I chose “sleeves” for this series just to give you the basics of centering. A broader discussion of making sure your motifs are placed where you want them is best left for a series on designing stranded garments. 

I hope this was helpful. If you have any questions, please feel free to get in touch.

Next week: Casting off and Weaving in ends.

We're getting close to the end, people!


Brandon Knitting Designs - website
Brandon Knitting Designs - Facebook
Ravelry - varianbrandon
Twitter - @vbknits
Pinterest - Varian Brandon
Instagram - varianbrandon